
Adjusting your standing desk throughout the day is great for your health, but finding out your new keyboard tray won’t fit underneath it is an absolute nightmare. Many remote workers and gamers buy a sliding keyboard tray on Amazon, grab their drill, flip their desk over, and suddenly realize there’s a giant metal bar or motor casing blocking the path.
The truth is, standard office desks have flat, open undersides, but standing desks are a completely different beast. Between the lifting mechanisms, support beams, and electronics, the under-desk landscape is a minefield for accessories.
Before you click “Buy Now” or ruin your desktop with accidental drill holes, you need to check three critical measurements. Here is the ultimate compatibility checklist to know exactly if a keyboard tray will fit your standing desk.
1. Look Out for the Under-Desk Crossbar (The Biggest Culprit)
Most standing desks use a central steel support beam (called a crossbar) that runs directly underneath the desktop to connect the motorized legs. If this metal bar is positioned right where your hands normally rest, a standard screw-in keyboard tray cannot slide past it.
- What to do: Flip your desk over or look underneath it with a flashlight. Measure the flat, open space between the front edge of your desk and the metal crossbar.
- The Rule: You generally need at least 11 to 15 inches of completely flat, unobstructed wood in front of that bar to install a standard keyboard tray track.
2. Measure the Track Depth (The Under-Desk Clearance)
A sliding keyboard tray works because it sits on metal tracks mounted to the bottom of your desk. If your desk isn’t deep enough, those tracks will stick out from the back or front edge like an eyesore.
- Check the Track Length: Before buying on Amazon, check the product specifications for “Track Length” or “Installation Depth.” Most standard trays require a track that is around 14 to 17 inches long.
- The Measurement: Measure from the very front edge of your desktop straight back toward the rear. If your standing desk is small (like a 40-inch wide by 24-inch deep model), make sure the track length of the tray you choose is shorter than the available flat space underneath.
3. Check Desk Thickness and Desktop Material
Standing desks are often made of lighter, thinner materials to make it easier for the motors to lift them. Before you drill, you must check if your desktop can handle the weight of a heavy keyboard tray.
- The Thickness Rule: Most screw-in keyboard trays require a desktop that is at least 0.6 inches (15 mm) thick. If your desk is thinner than this, the screws might pierce right through the top surface, ruining your desk.
- Avoid Glass and Hollow Desks: If your standing desk has a glass top, or if it is a cheap Ikea-style desk filled with hollow honeycomb paper inside, do not use a screw-in tray. The screws will not hold, and the desk could shatter or collapse under pressure.
If you’re still deciding on the frame itself, not just the tray, our Standing Desk Frame Compatibility Guide breaks down which desktop thicknesses fit which frame brands before you buy either
The Ultimate Solution: What to Do If It Doesn’t Fit?
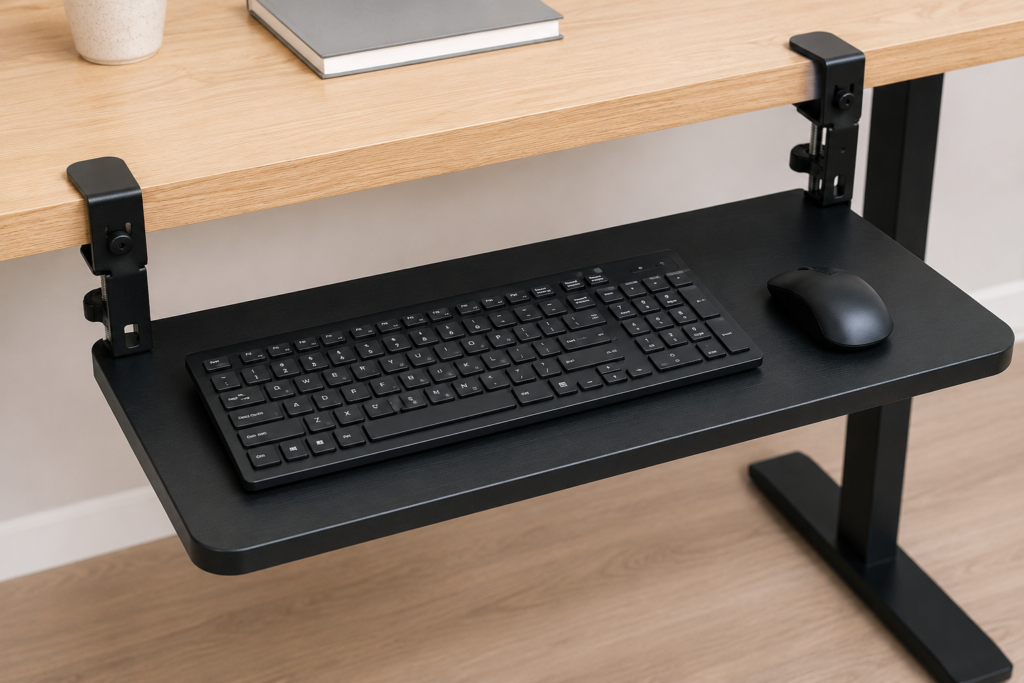
Solution A: Use a Clamp-On Keyboard Tray
If you don’t want to drill holes, or if your desk is too thin or made of glass, a clamp-on keyboard tray is your best friend.
- How it works: Instead of screws, it uses two heavy-duty C-clamps that tighten onto the front edge of your desk.
- The Benefit: It completely bypasses the under-desk crossbar because the tray hangs slightly lower, allowing it to slide smoothly right under the metal frame.
Solution B: Use Track Spacer Blocks
If you really want a solid, screw-in wooden tray but a metal crossbar is in the way, you can buy Under-Desk Keyboard Tray Spacers on Amazon.
- How it works: These are small wooden or plastic blocks that you screw into the desk first. They drop the installation surface down by 1 to 2 inches, allowing the sliding tracks to clear the metal bar completely.
Conclusion
Buying a keyboard tray for a standing desk requires a little extra homework compared to a standard office desk. To avoid returns and frustration, always remember to measure your track depth, locate the central crossbar, and verify your desk thickness.
Taking just 5 minutes to look under your desk with a tape measure will save you from making a costly mistake and ensure your typing setup is comfortable, ergonomic, and completely safe.

I got interested in home office setups and noticed most buying guides online tell you if a product is ‘good,’ but never tell you if it will actually fit your specific desk. Does It Fit My Team exists to close that gap, with real measurements, verified sources, and straight answers.
Pingback: Do Monitor Arms Damage Desks? Risks, Prevention & Desk Types
Pingback: Monitor Arm Clamp on Bamboo Desk: $12 Fix Prevents Damage - Does It Fit My
Pingback: Can Any Desktop Fit a Standing Desk Frame? (4 Brands Checked)